The bathroom should be a place of comfort, relaxation, and safety. However, for seniors and individuals with mobility challenges, traditional bathtubs can pose significant risks. High step-in thresholds, slippery floors, and limited support make daily bathing a stressful task. That’s why more homeowners are choosing walk-in tub installation as a smart investment that enhances independence, safety, and peace of mind.
If you’re considering this upgrade for your home, it’s helpful to understand what the installation process involves, how it benefits you, and why working with professionals ensures the best results. Let’s walk through everything you need to know about transforming your bathroom with a walk-in tub.
Why Choose a Walk-In Tub?
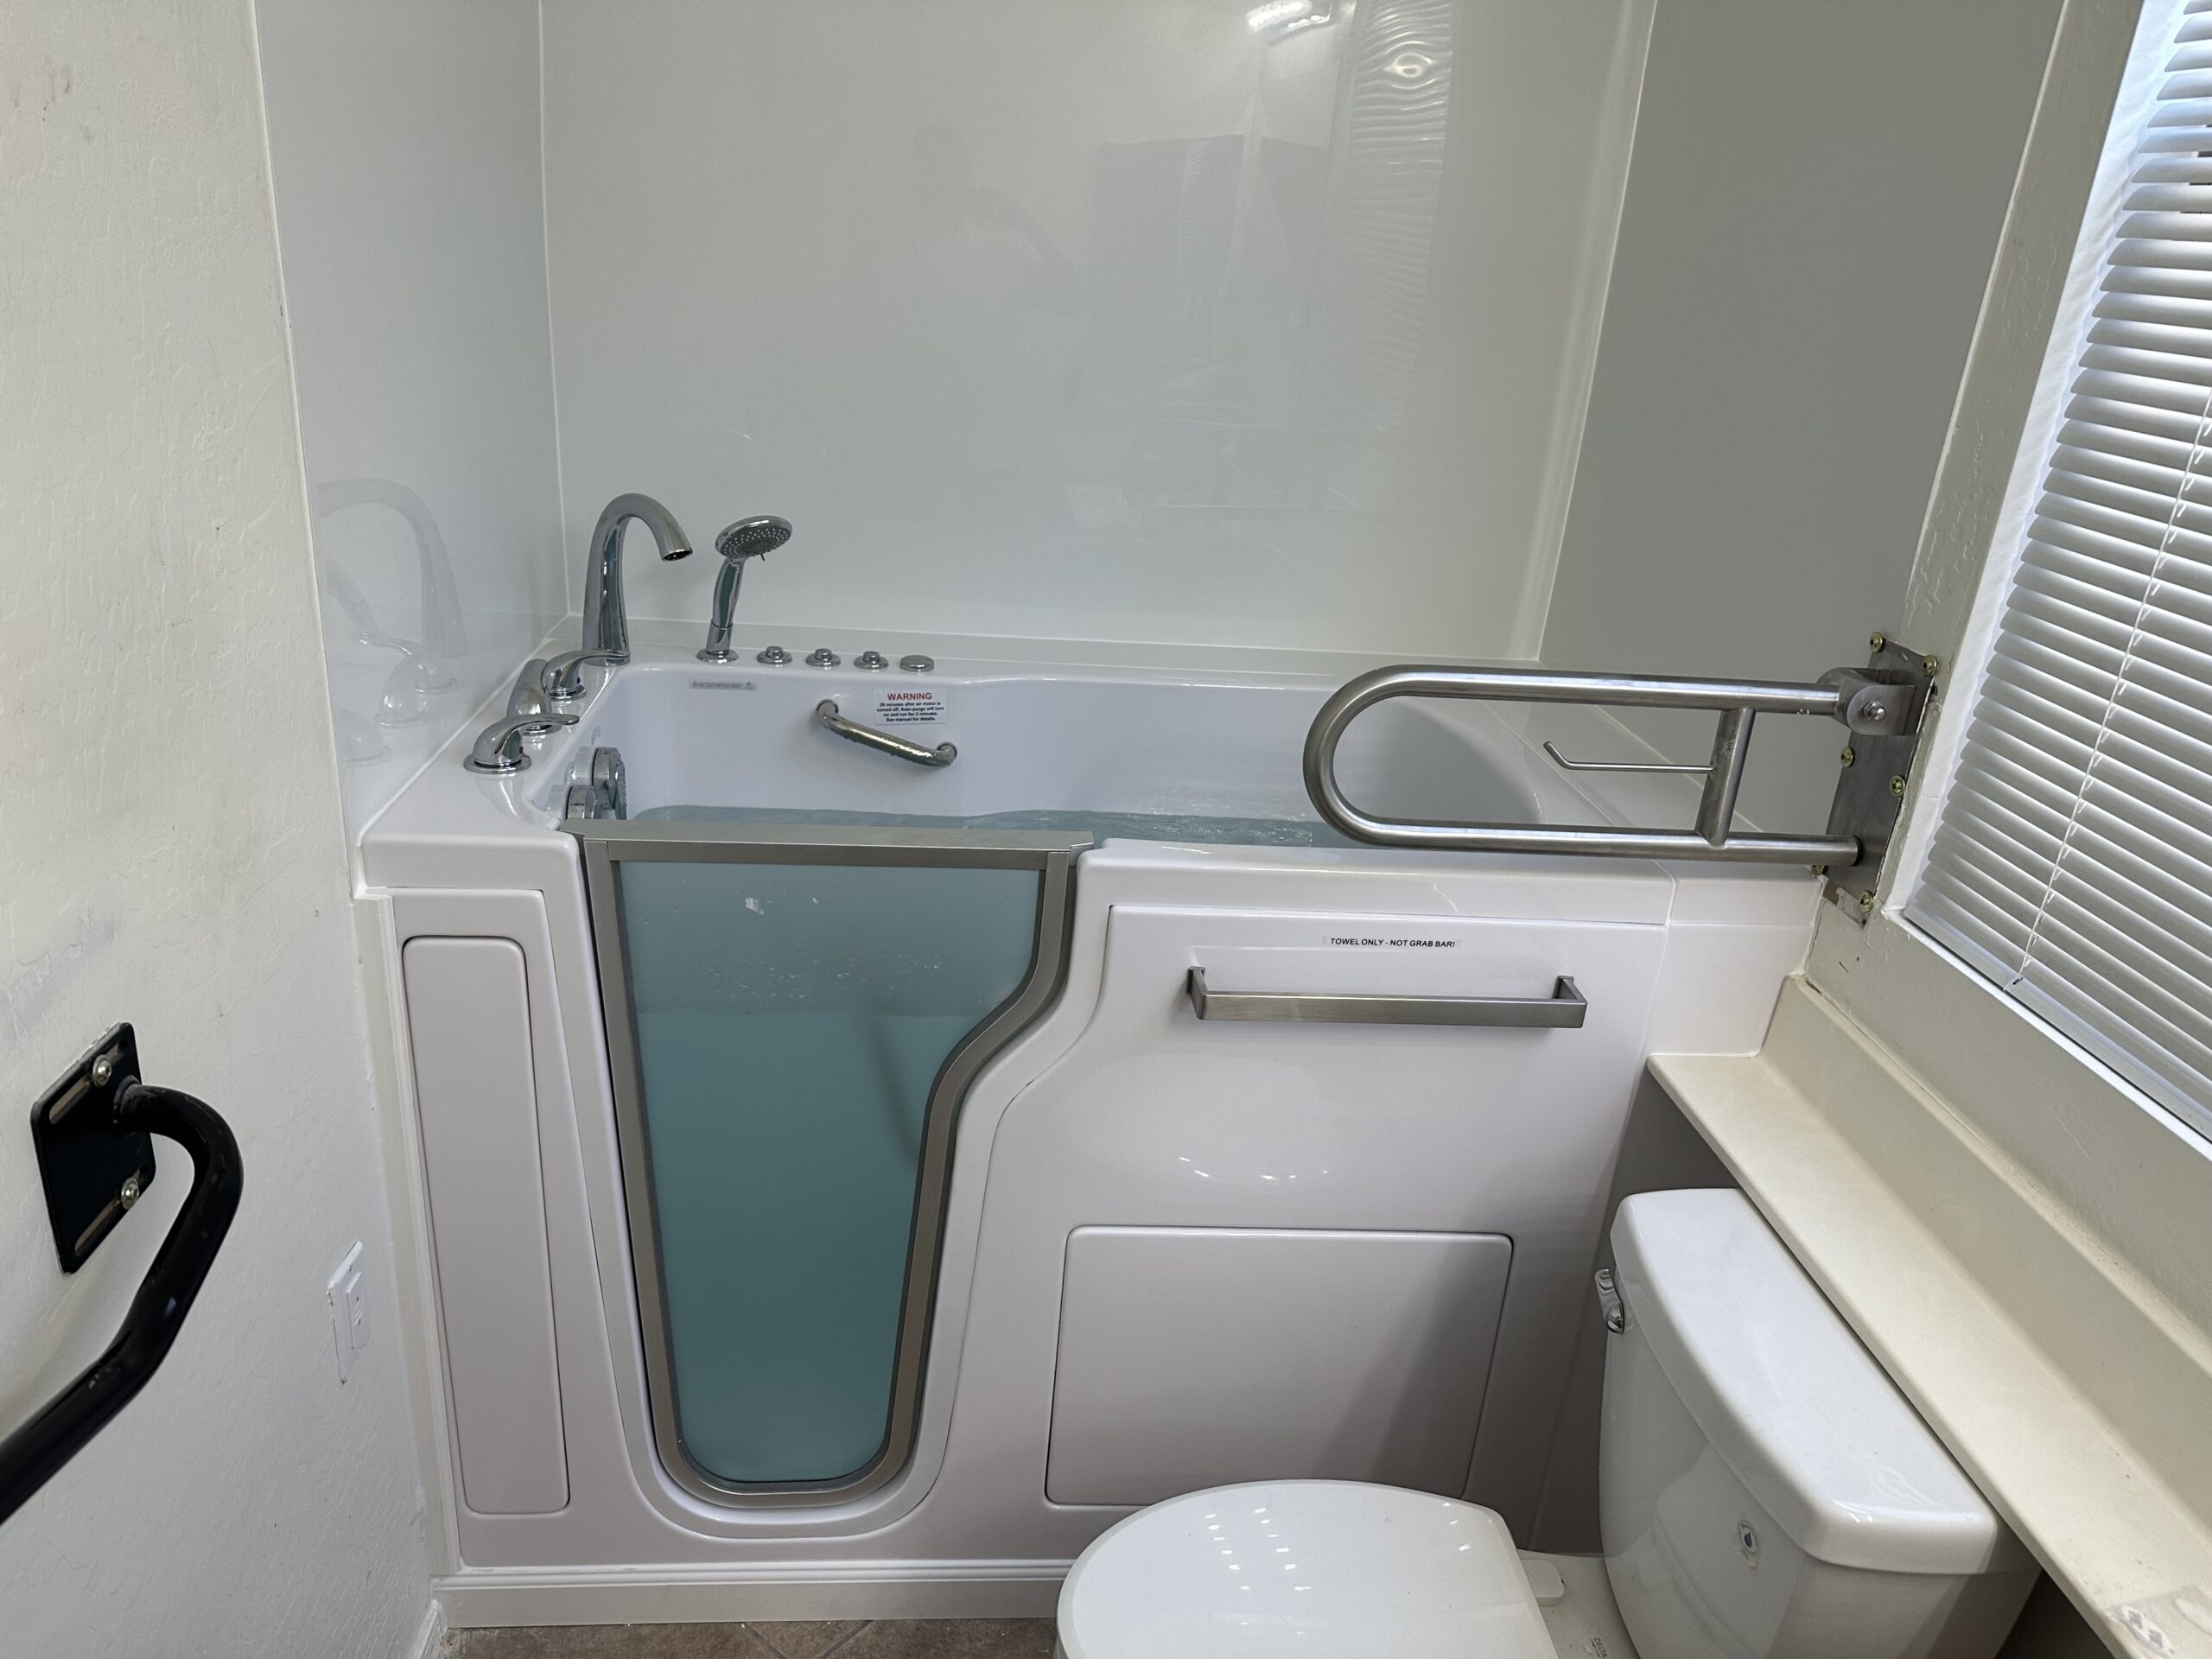
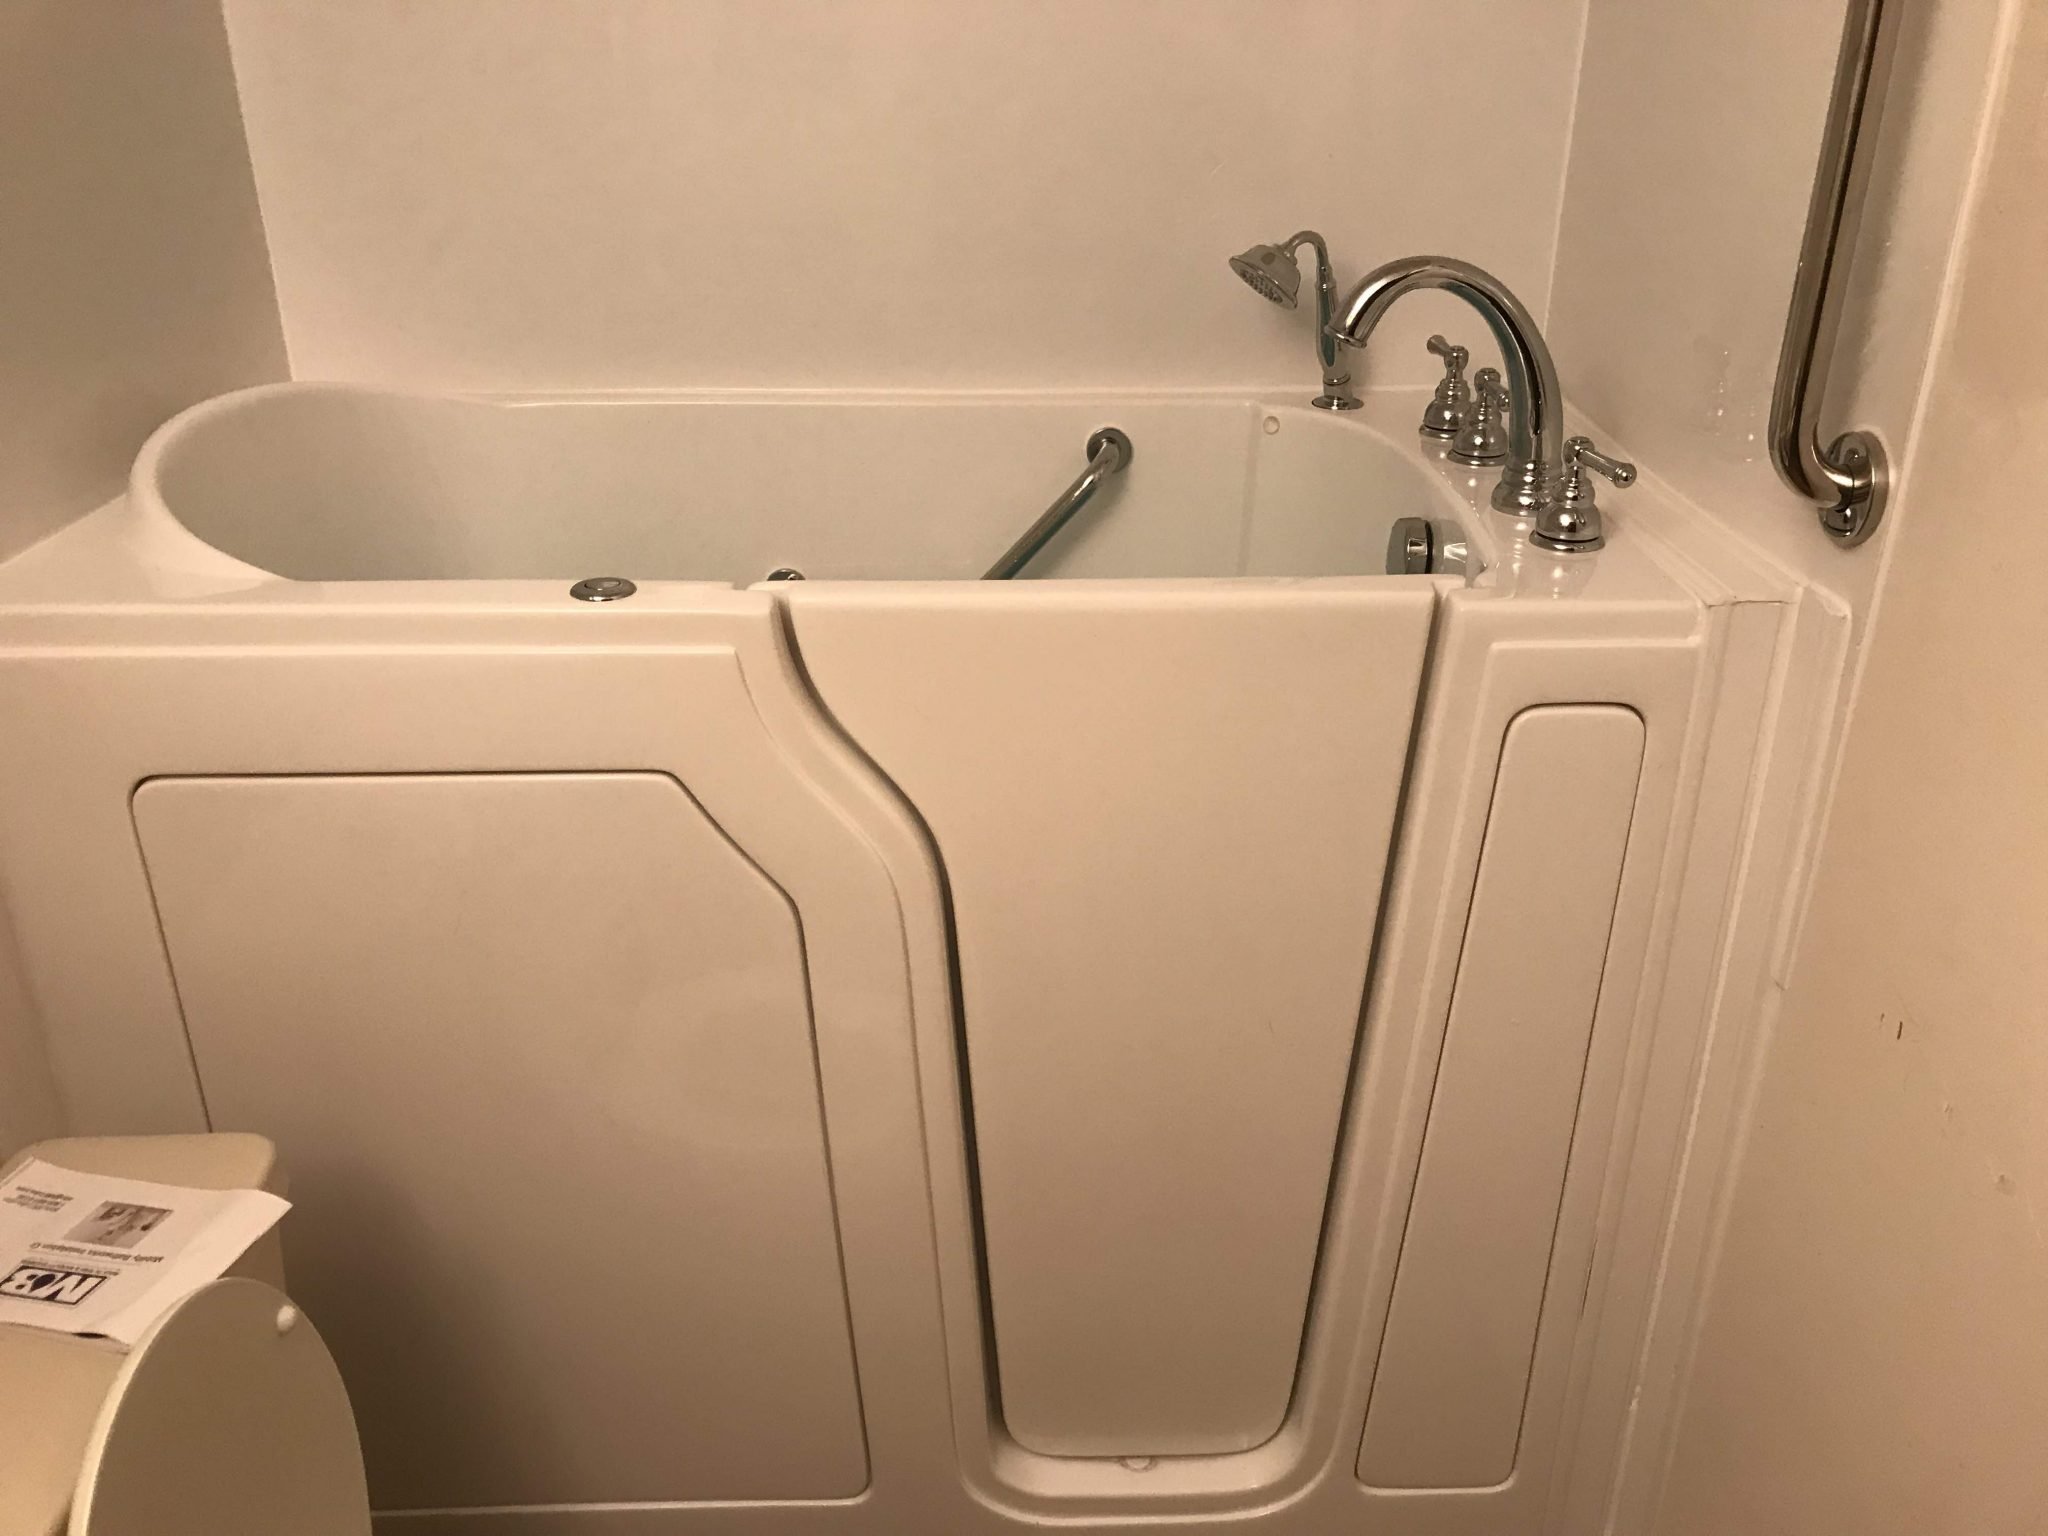
The decision to install a walk-in tub often comes down to safety and accessibility. Unlike traditional bathtubs, walk-in tubs feature a low entry threshold, slip-resistant flooring, built-in seating, and secure grab bars. These features significantly reduce the risk of slips and falls, making them ideal for seniors who want to age in place safely.
But the benefits don’t stop at safety. Many models include hydrotherapy jets, heated surfaces, and ergonomic designs that help with muscle relaxation, circulation, and stress relief. In other words, a walk-in tub isn’t just about safety, it’s about creating a spa-like experience in your own home.
Step 1: Personalized Consultation
Every successful walk-in tub installation starts with a detailed consultation. During this step, professionals evaluate your bathroom space, take measurements, and discuss your specific needs. Do you want additional features like hydrotherapy jets? Do you need accessibility modifications such as wider doorways? Are you concerned about blending the new tub with your existing bathroom design?
This consultation ensures that you select the right tub and have a clear understanding of the project scope, costs, and timeline before the installation begins.
Step 2: Preparing the Bathroom
Once planning is complete, the preparation stage begins. This involves removing your old bathtub or shower and preparing the space for the new walk-in tub. Depending on your bathroom’s setup, preparation may also include plumbing adjustments, electrical upgrades, or flooring reinforcement.
In some cases, homeowners also choose to make accessibility improvements like widening doorways or rearranging fixtures for easier movement. While this step may seem like background work, it is essential for a safe and efficient installation.
Step 3: Delivery and Proper Placement
Walk-in tubs are large and heavy, so professional handling is required for delivery and placement. During this step, installers carefully move the tub into your bathroom and set it in its designated space. Proper leveling and secure placement are critical to ensure long-term functionality and prevent issues down the line.
Step 4: Plumbing and Electrical Setup
Once the tub is positioned, the next step is connecting it to your plumbing and electrical systems. This includes attaching water supply and drainage lines and ensuring there are no leaks. If your walk-in tub has advanced features such as hydrotherapy jets, heated surfaces, or lighting, professional electrical wiring is necessary.
This part of the process highlights why professional installation is so important, errors in plumbing or wiring can lead to costly repairs and safety concerns.
Step 5: Sealing and Finishing Touches
After the connections are made, the tub is sealed to prevent leaks and water damage. Caulking, trim work, and other finishing touches ensure that the installation looks polished and blends seamlessly with your bathroom design. Safety features like grab bars and non-slip floorin
g are also checked to ensure they’re properly installed and secure.
Step 6: Testing and Homeowner Orientation
Before the installation is officially complete, professionals test the tub by filling and draining it, checking for leaks, and verifying that all features work as expected. Hydrotherapy jets, heated backrests, and lighting are tested to ensure proper performance.
Just as importantly, the installers guide you through the tub’s features and operation so that you feel confident using it safely and comfortably from the very first day.
How Long Does Installation Take?
Most walk-in tub installations can be completed within one to two days. Straightforward projects may take a single day, while more complex remodels requiring additional plumbing or electrical work may take longer. The goal is always to minimize disruption to your home while delivering a high-quality upgrade.
Why Professional Installation Is Essential
Although some homeowners may consider a do-it-yourself approach, a walk-in tub is not a project for amateurs. Professional installation ensures that plumbing and electrical systems meet code requirements, the tub is sealed properly, and all safety features function as intended.
With experts handling the process, you gain peace of mind knowing your investment is protected and that your tub will provide years of reliable use.
The Bigger Picture: Safety and Comfort for Years to Come
Installing a walk-in tub is about more than upgrading your bathroom, it’s about protecting your independence, ensuring your safety, and creating a more enjoyable bathing experience. It allows seniors to stay in their homes longer, provides relief for individuals with chronic pain, and adds value to your property.
By understanding the installation process, you can move forward with confidence and excitement, knowing that your bathroom is about to become safer, more comfortable, and more functional.
Are you ready to make your bathroom safer and more comfortable? Trust Boston Walk-In Tubs for expert walk-in tub installation. Our experienced team is dedicated to helping you enjoy the perfect blend of safety, comfort, and style in your home. Contact us today to schedule a consultation and discover how a walk-in tub can transform your daily routine.